I’ve always had in interest in taking a deep dive into the world of Linux. I’ve played around with it a little bit and know some basic navigation and how to do simple tasks like installing applications. I have a Raspberry Pi that I’ve done some fun projects on but haven’t really documented too much of that process. I wanted to touch up on these skills and essentially start from scratch and document everything this time and approach it more skill based rather than just having fun. I’m not sure where exactly this series of posts will go but the only sure thing is that I’ll be using Linux! I’m going to start with one of the most popular Distros, Ubuntu, I guess because I think it will give me a good foundation and will be mostly transferable to other Distros. Anyways, I’m just going to go over installing Ubuntu and getting set up on this first post. I’m going to be running Ubuntu in VirtualBox on a Windows 10 Desktop. I’m not going to go over installing VirtualBox, but if you haven’t used it before you can easily find how to set it up using a Google search of Youtube Video. Before you get started, here are the minimum system requirements to install Ubuntu:
- 2 GHz dual-core processor or better
- 4 GB system memory (RAM)
- 25 GB of free hard drive space
- The ISO image is 6 GB
Downloading Ubuntu ISO
Start by downloading the Ubuntu Desktop ISO from this link. I usually save my ISO files in a dedicated folder so if I want to spin up another VM, I have them all in a centralized place. I have a separate hard drive on my host computer that I save all my VMs and lab related stuff. There are a couple official tutorials on the Ubuntu website for installing Ubuntu. One is specifically for VMs and the other for just general installation for Ubuntu Desktop (click on the links to access the tutorials). In the installation for the VM tutorial, it installs Ubuntu using a feature called an Unattended Guest OS Install. This feature if very convenient but with the first installation, I like to go through a regular installation of starting up the machine and loading the ISO in the virtual CD drive to emulate installing the OS on a desktop and to go through the full process to learn how to do a clean install of the OS. Once I feel confident in doing that, I will do the guest install on future VMs but I like to first learn the full process. You can follow the tutorial for installing Ubuntu desktop on the Ubuntu website to follow along with this process. Once Ubuntu is downloaded we can start setting up our VM using VirtualBox.
Creating a VM in VirtualBox
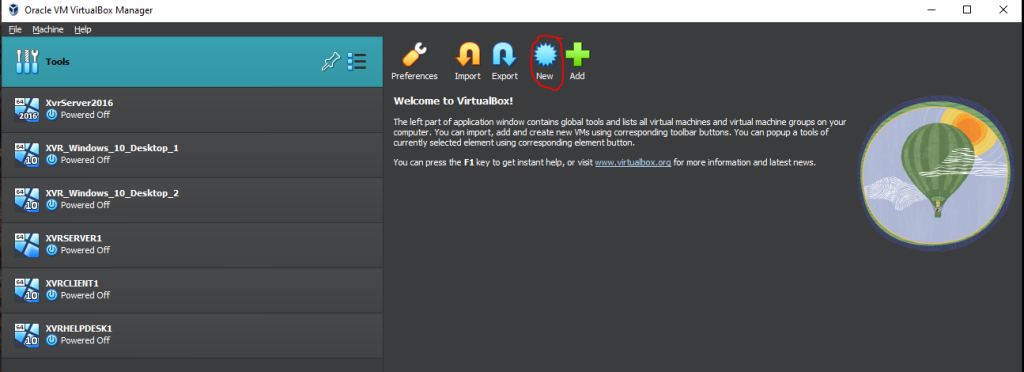
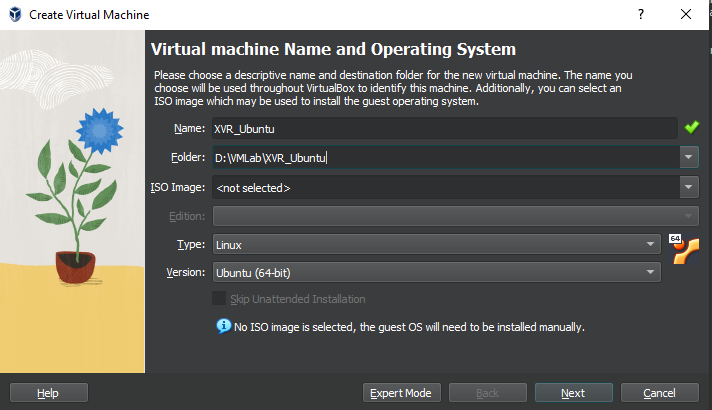
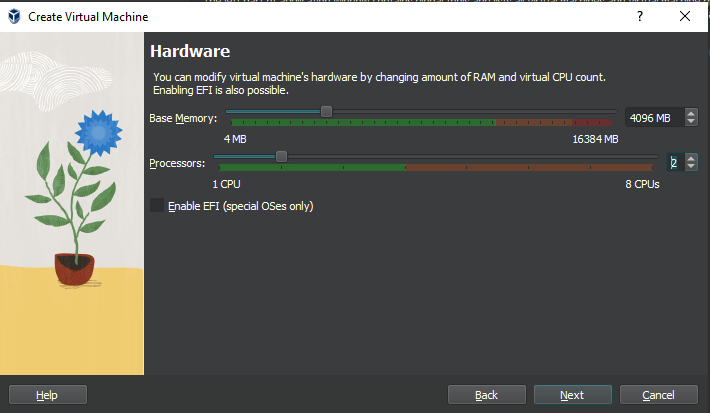
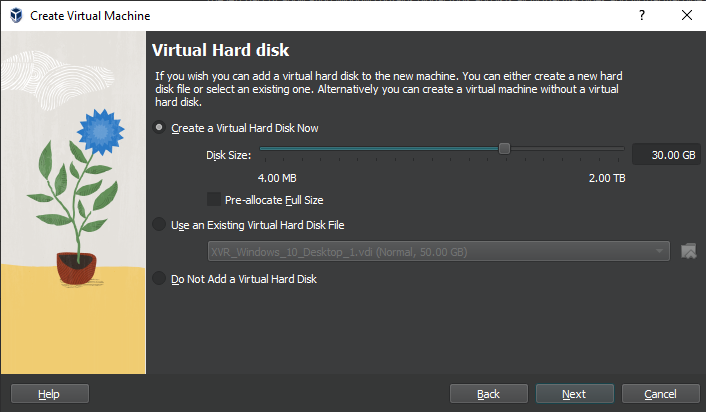
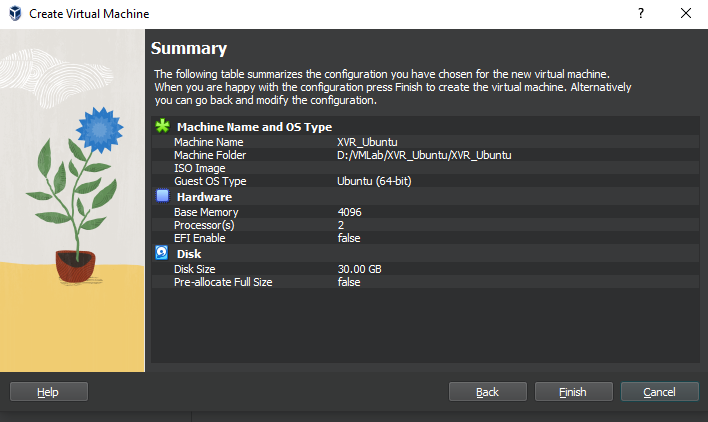
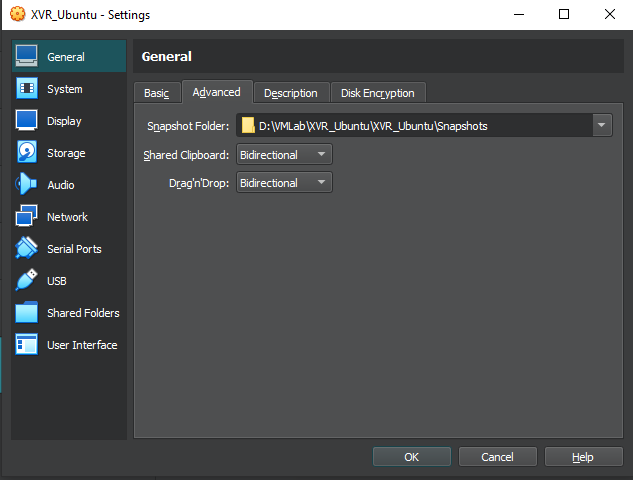
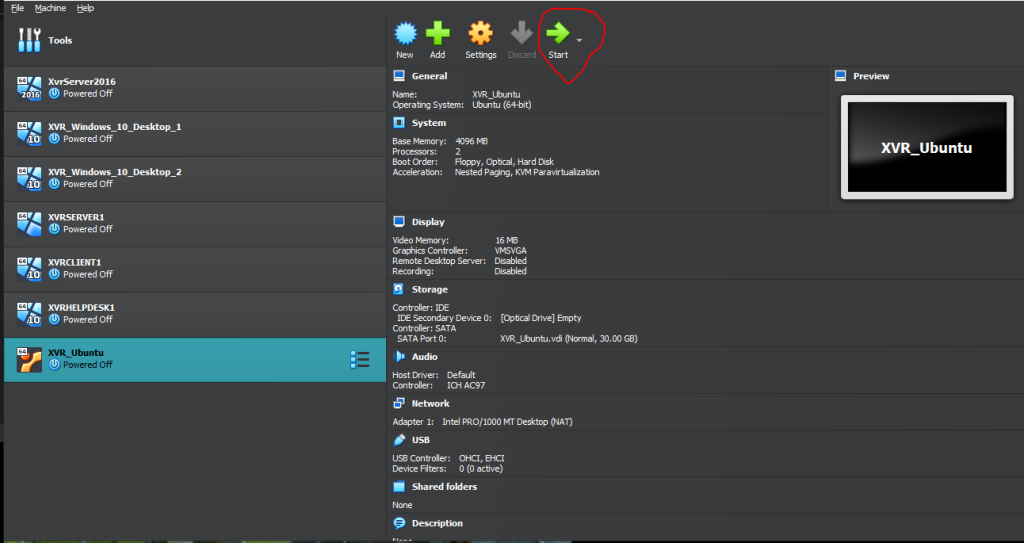
Start by opening up VirtualBox and once in click “New” to create a new virtual machine. Next, name you virtual machine and select a folder to save your VM and its files. You can use the default folder that VirtualBox creates but I have all my VMs saved on a separate hard drive. I like to keep all of my VMs centralized in the same location and I have a hard drive with plenty of space so I don’t have to worry about the size of my VMs. When naming the machine, if you can include “Ubuntu” in the name, VirtualBox will automatically select the type and the version of the installation. If you don’t want to include Ubuntu in the name, make sure to set the type to Linux and the version to correspond to your CPU architecture (64 vs 34-bit). I named my machine XVR_Ubuntu (name_Ubuntu). I am leaving the ISO image blank for now and will select it later when starting the machine. This will allow us to do the full desktop installation rather than the unattended guest installation. Next, we can configure some hardware specifications for our machine. I kept my memory to the minimum (4 GB/4096 MB) because I’m on an old PC with limited RAM. If you have the resources I would set this to at least 8 GB to get better performance. As per the Ubuntu requirements, I set the number of CPUs to 2. On the next page, we will create a virtual hard disk and set the size of the hard disk. I set my machine to 30 GB but feel free to set it higher if you want more space. Finally, we will see a summary of our configurations, if everything looks correct, click Finish. Before starting the machine, I like to configure a shared clipboard and the drag ‘n’ drop feature so I can move and copy files between the host machine and the VM. To do this, select the VM from the VirtualBox home and select settings. In general settings, select the advanced tab and set “Shared Clipboard” and “Drag’n’Drop” to bidirectional and click OK. Now, select your machine in VirtualBox and click the Start command or just double click on the machine to get the VM up and running.
Installing Ubuntu
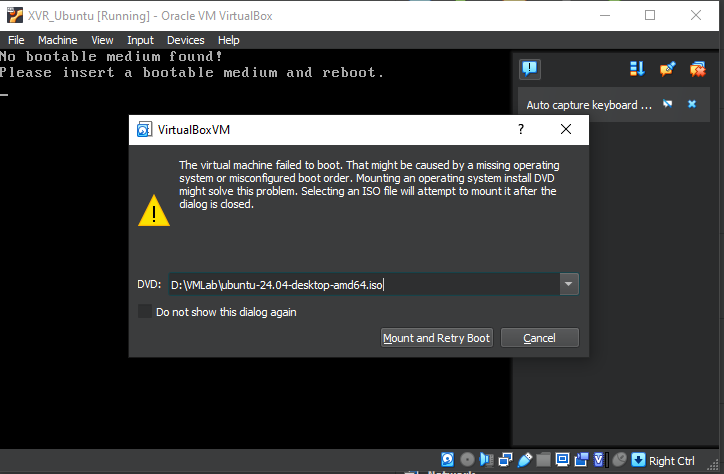
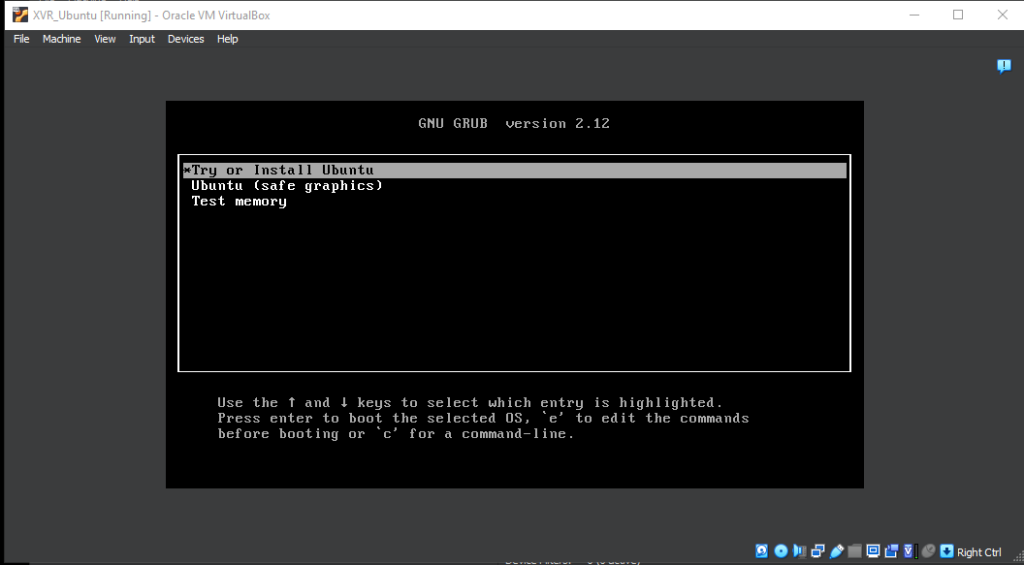
Once the VM starts, you will be prompted to select the disk/ISO file. Select the Ubuntu ISO we downloaded earlier and click “Mount and Retry Boot”. Once the machine reboots, you will be prompted with a text based GUI. Use the arrows to select “Try or Install Ubuntu” and click enter. Next you will see a couple of loading screens, wait for a bit until the Ubuntu installer starts and then follow through the instructions and configure your preferences.
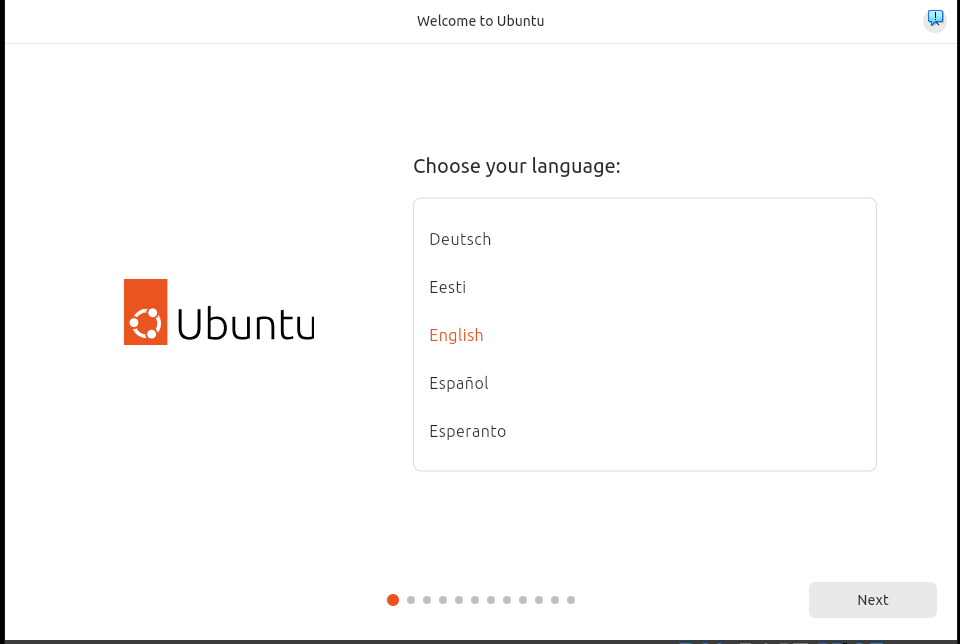
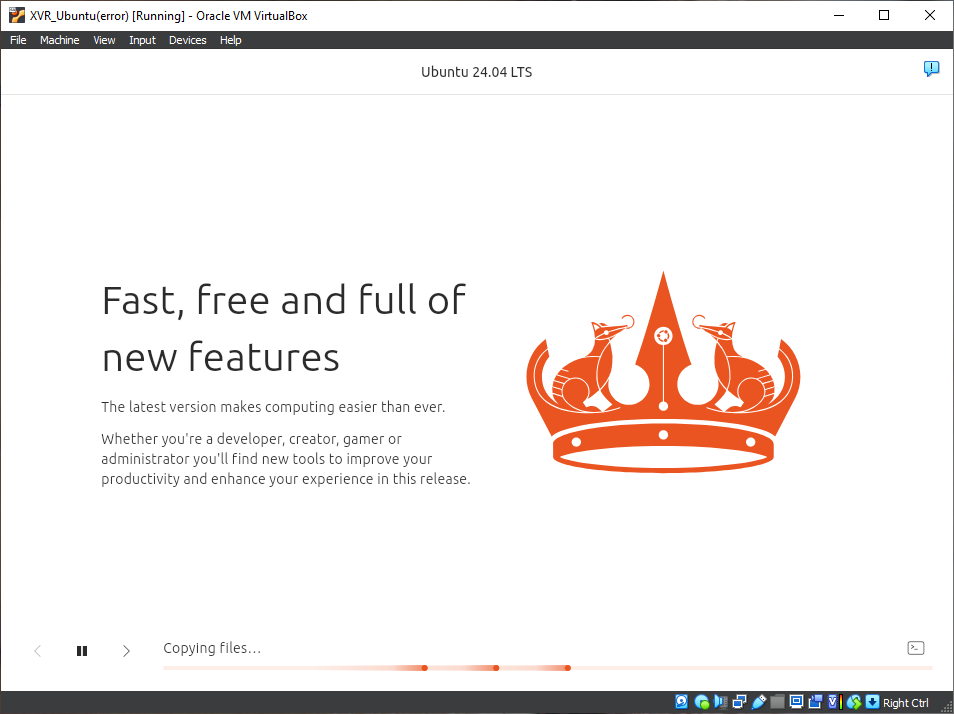
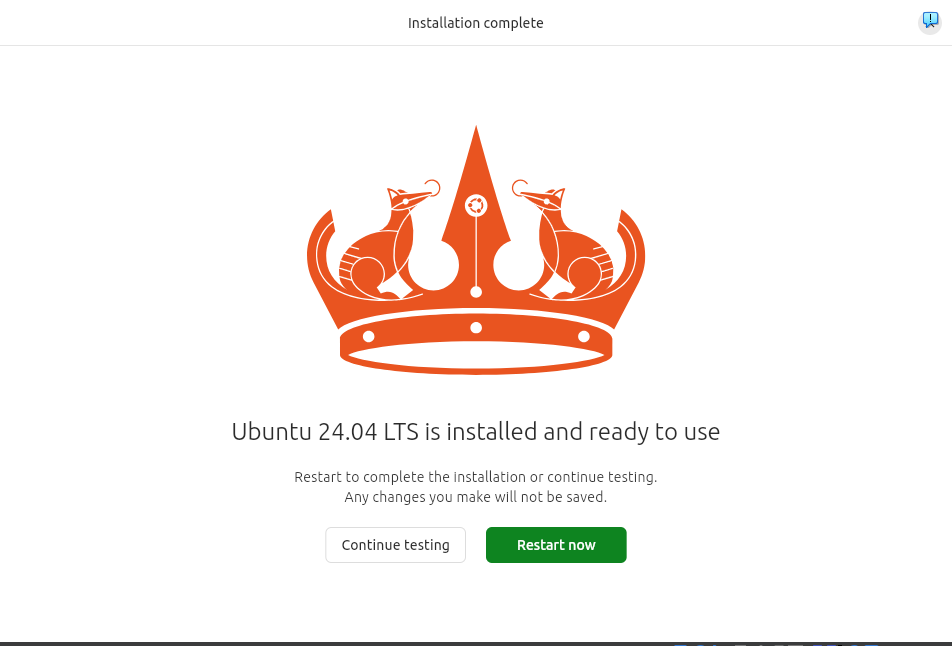
Here is a list of what I set for everything in the installer. Once you finish following the installer, you will be prompted to restart the machine by selecting “Restart now”.
- Language: English
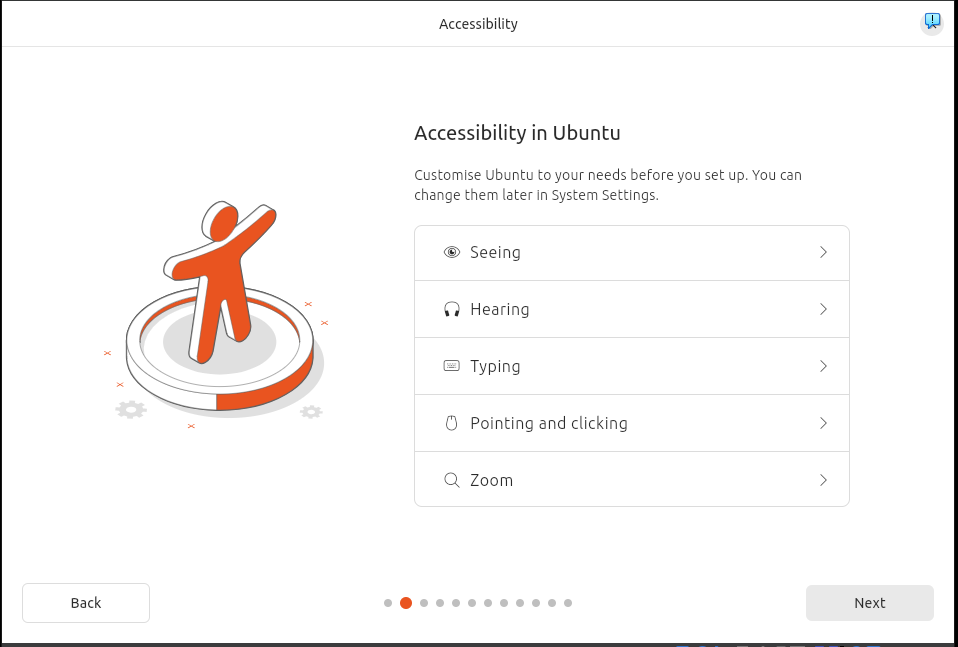
- Accessibility: I skipped and just selected next but configure as need for yourself.
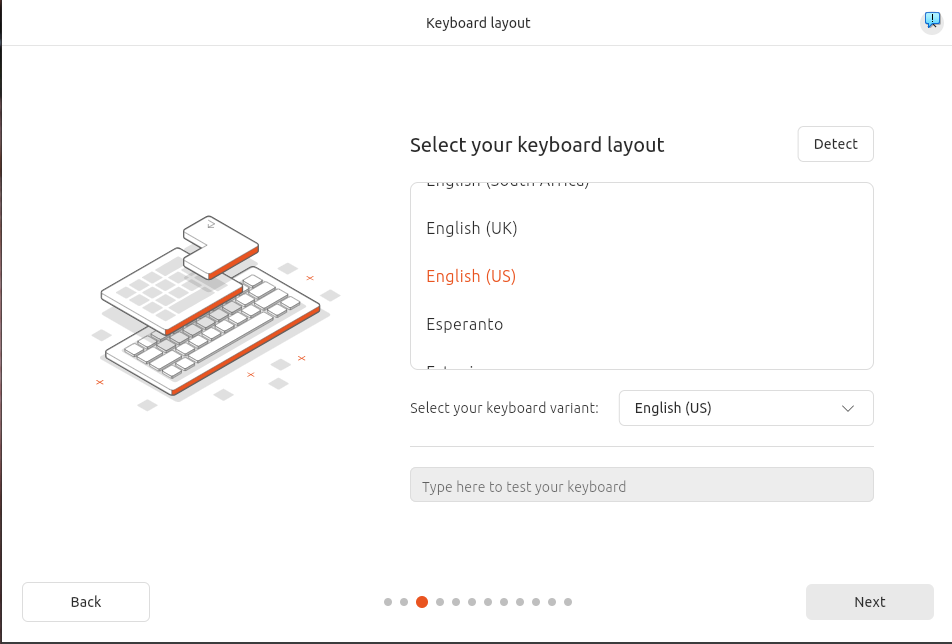
- Keyboard: English (US)
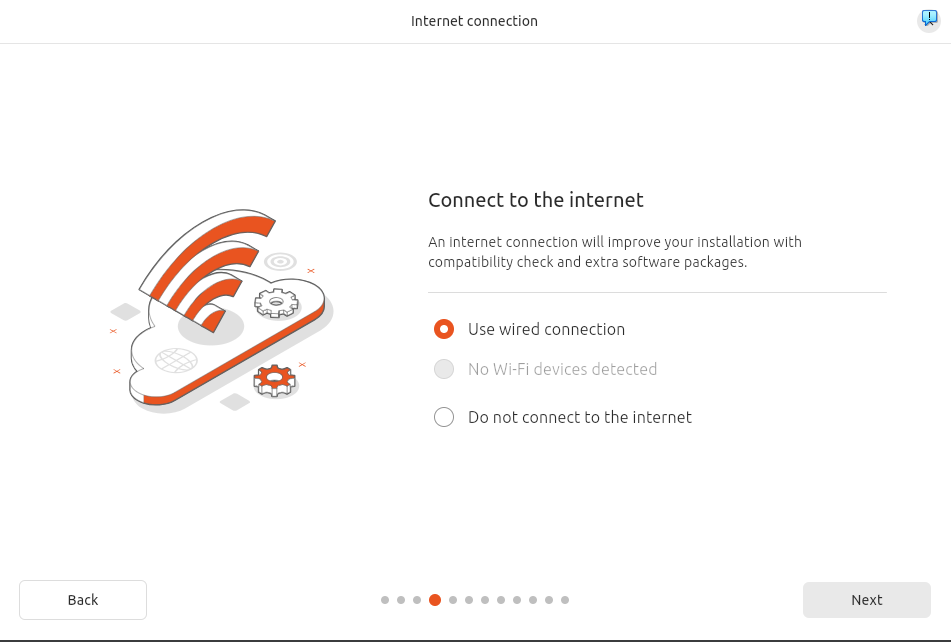
- Internet: Use wired connection (this will be through the VMs default settings for adapter one which is set to NAT)
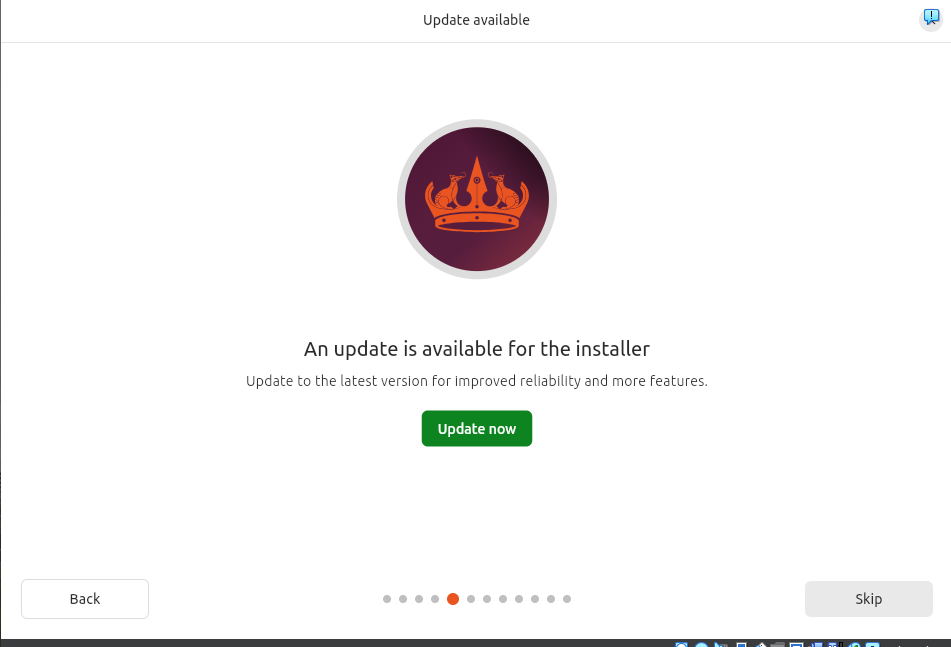
- Update installer: Skip
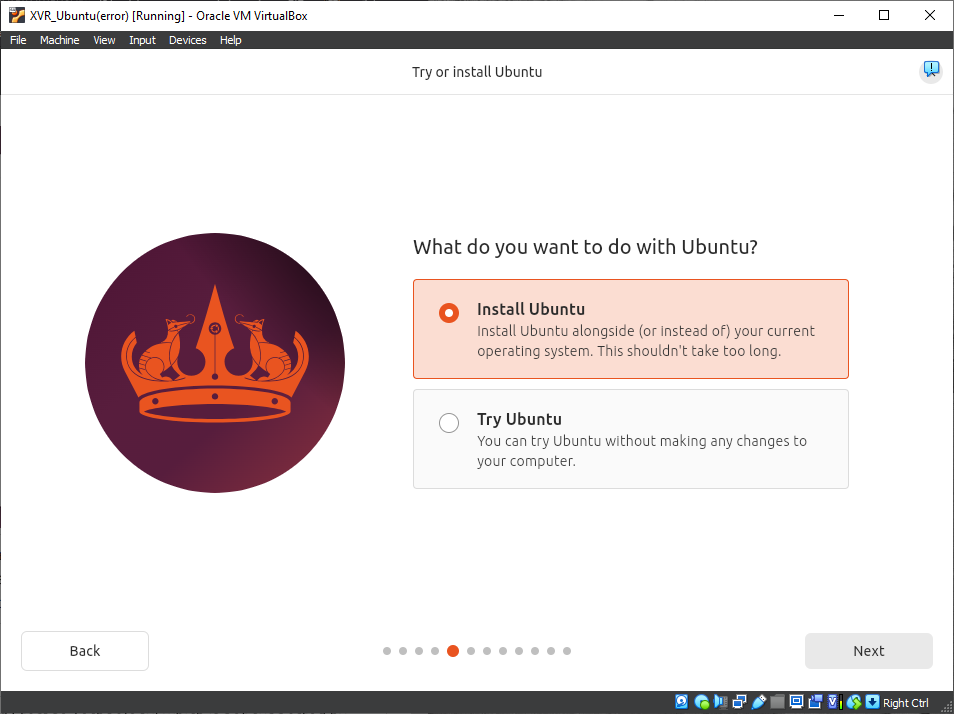
- What do you want to do with Ubuntu?: Install Ubuntu
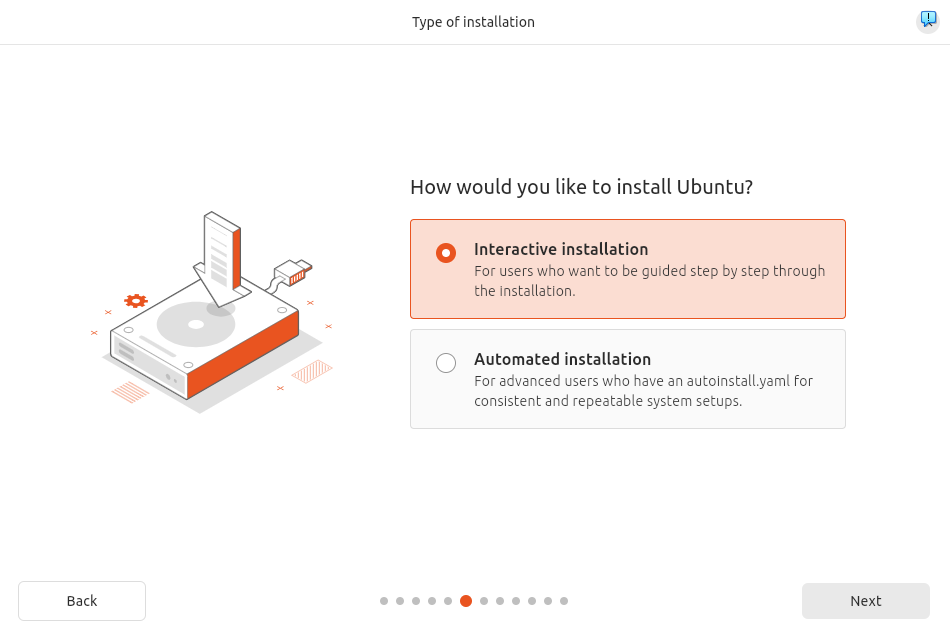
- How would you like to install Ubuntu? Interactive installation (this will continue through the guided installation)
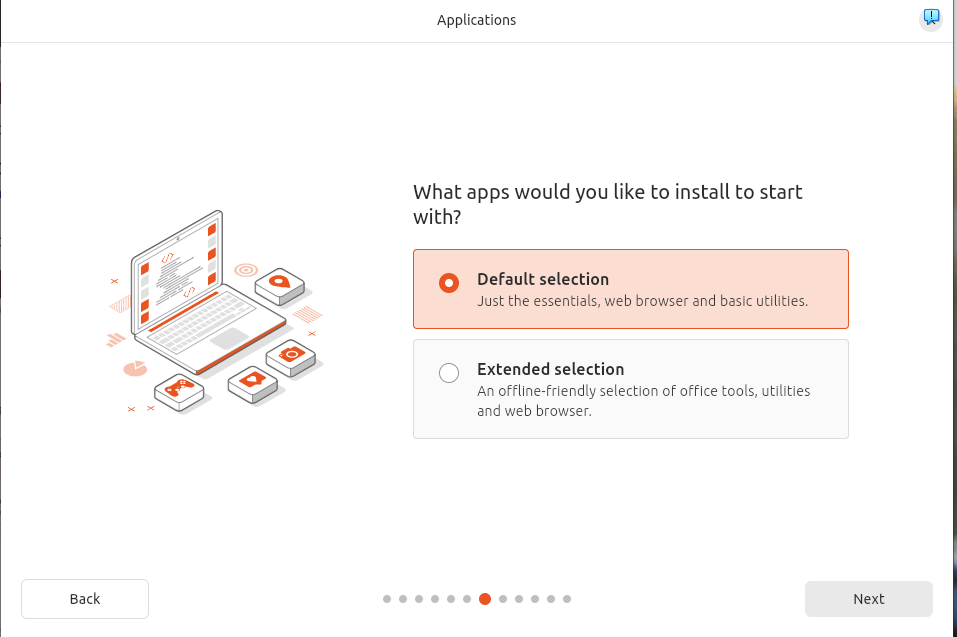
- What apps would you like to install to start with?: Default selection (we can always add more later)
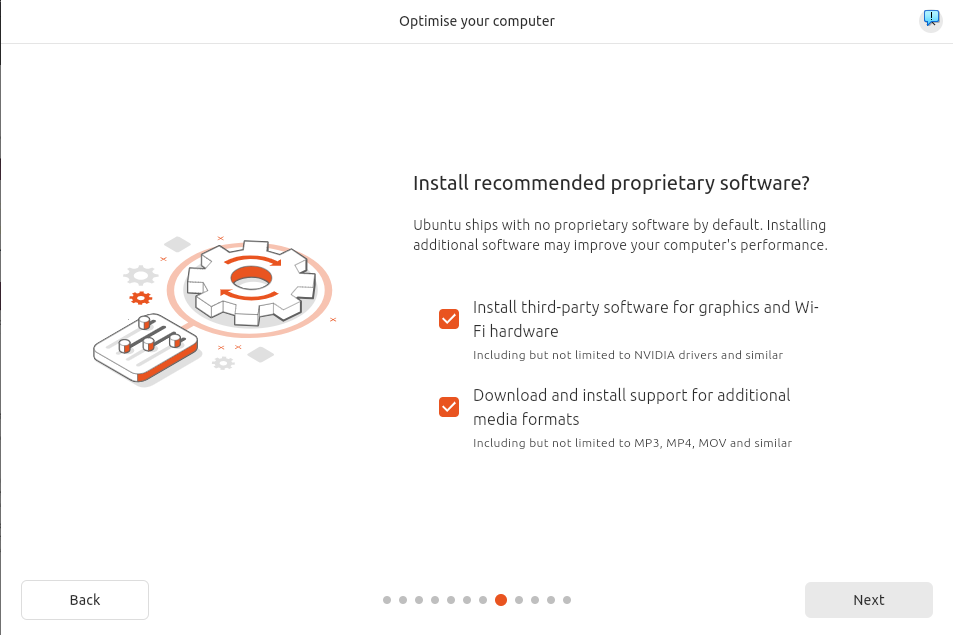
- Install recommended proprietary software? I selected both (third-party software for graphics and Wi-Fi and support for additional media formats)
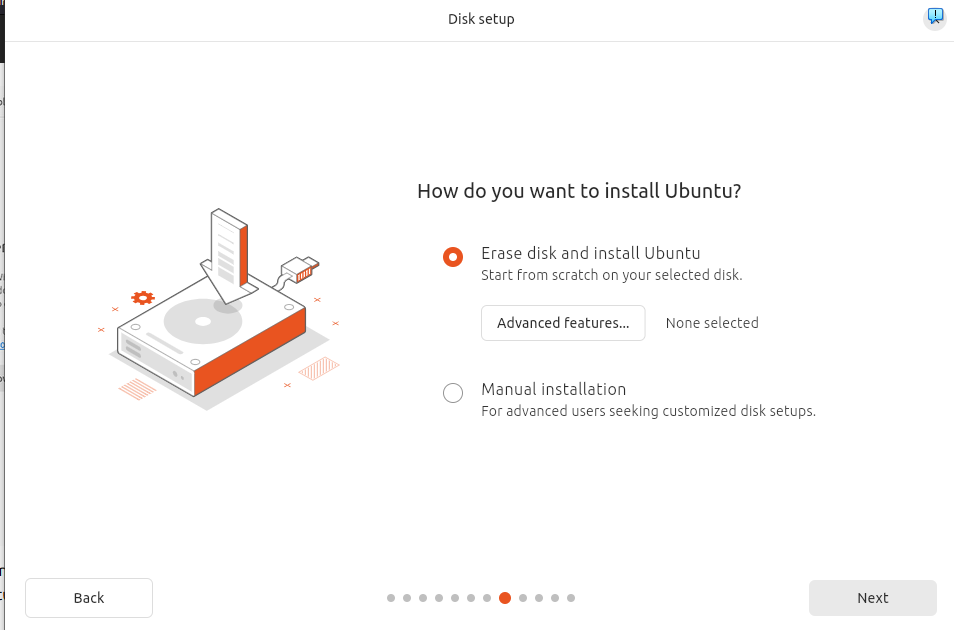
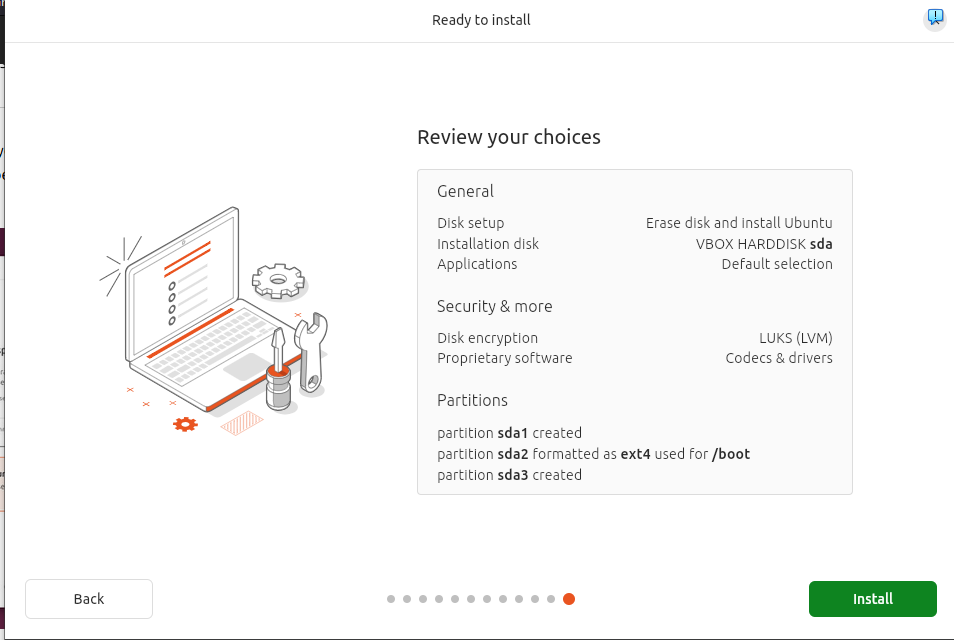
- How do you want to install Ubuntu?: Select Erase disk and install Ubuntu. Before clicking next select advanced features.
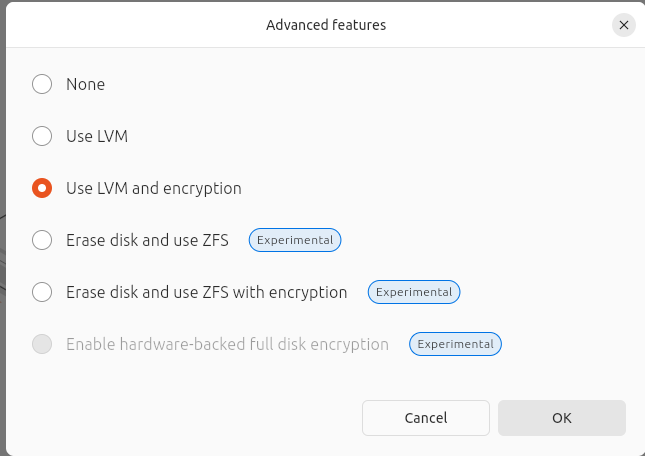
- Advanced features: LVM and encryption (LVM is Logical Volume Management which will allow for disk management later)
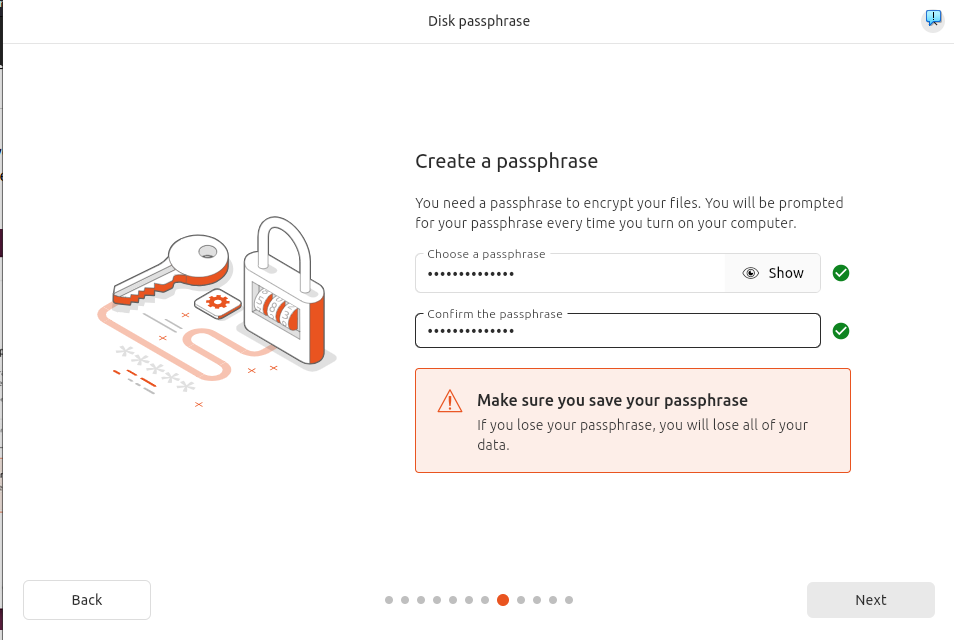
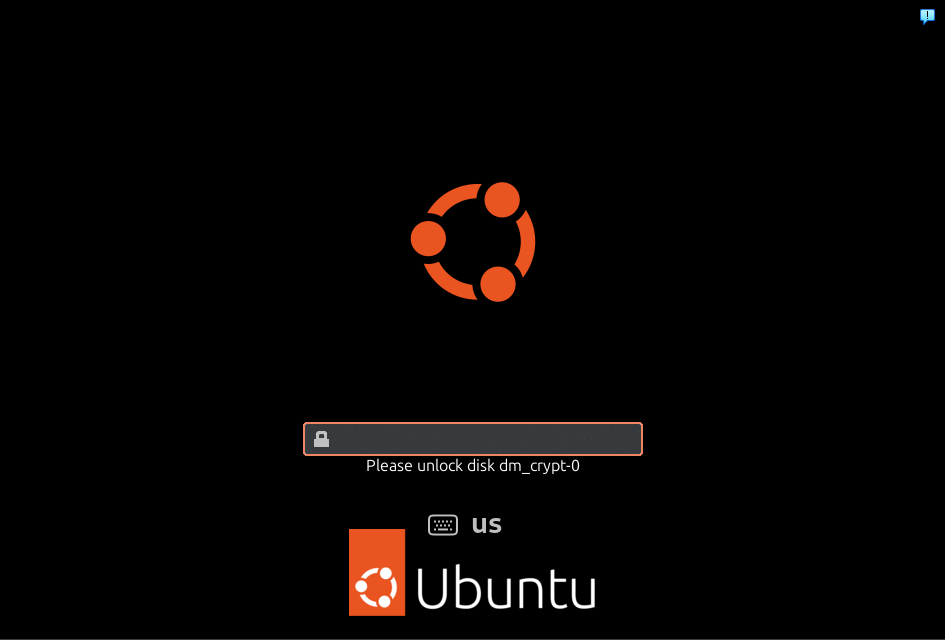
- Disk Passphrase: Create a passphrase to encrypt you files that you will need to use every time you power up your machine to access your files. Make sure this is a memorable password or you won’t be able to access you data.
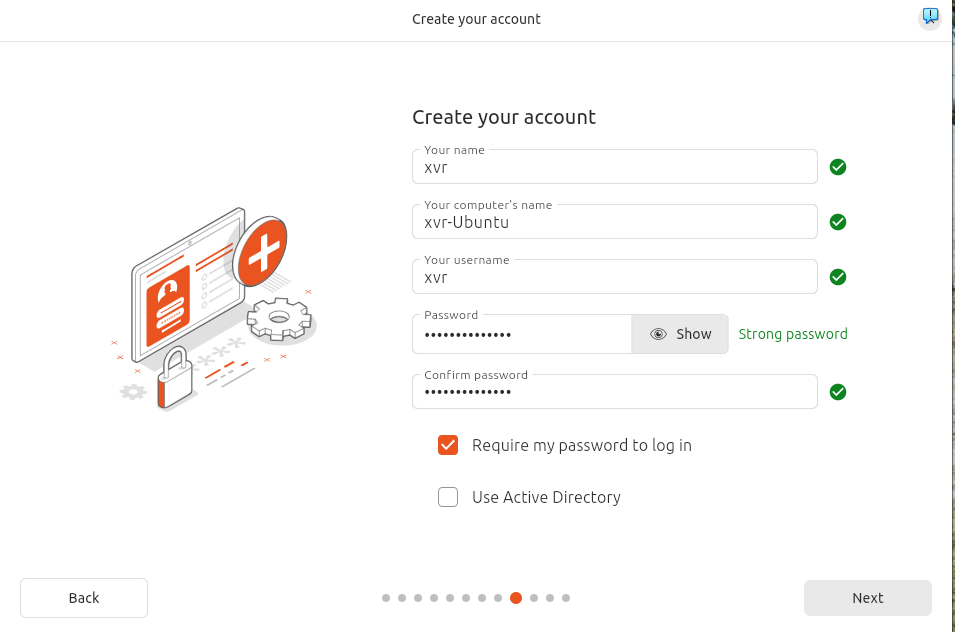
- Create your account: Since we are enabling encryption, we will need to create our account now. Here you will set you name, computer’s name, username and password. For me I set my computer name as xvr-Ubuntu and my username as xvr.
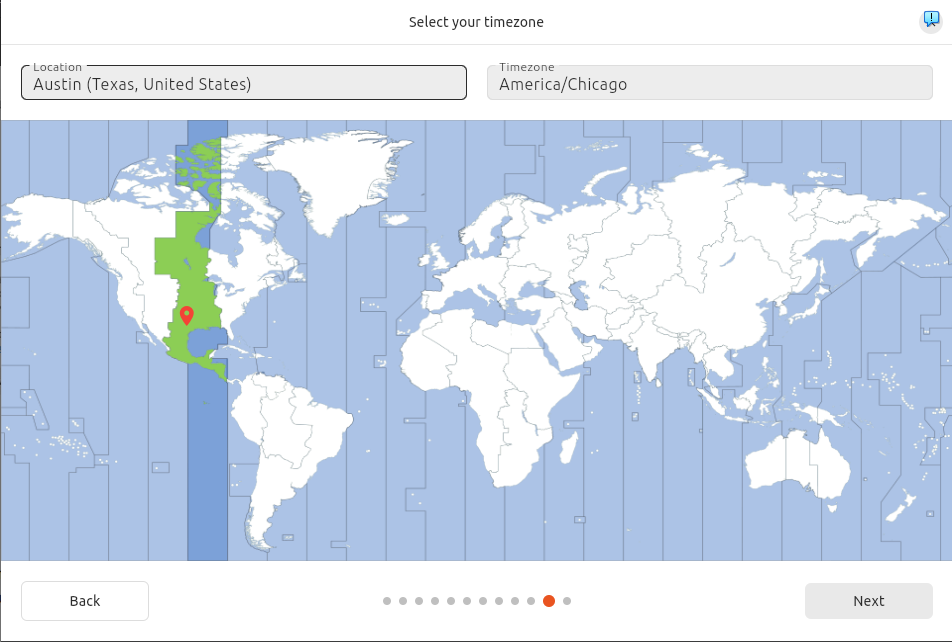
- Select your timezone: Set for your timezone
- Review your choices: Verify and click Install
First Login
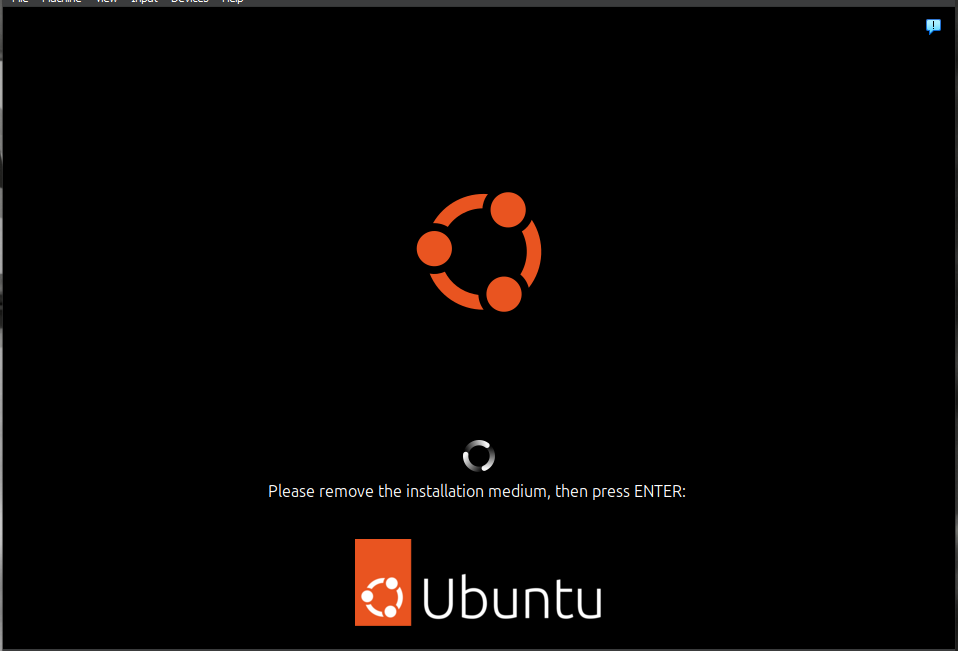
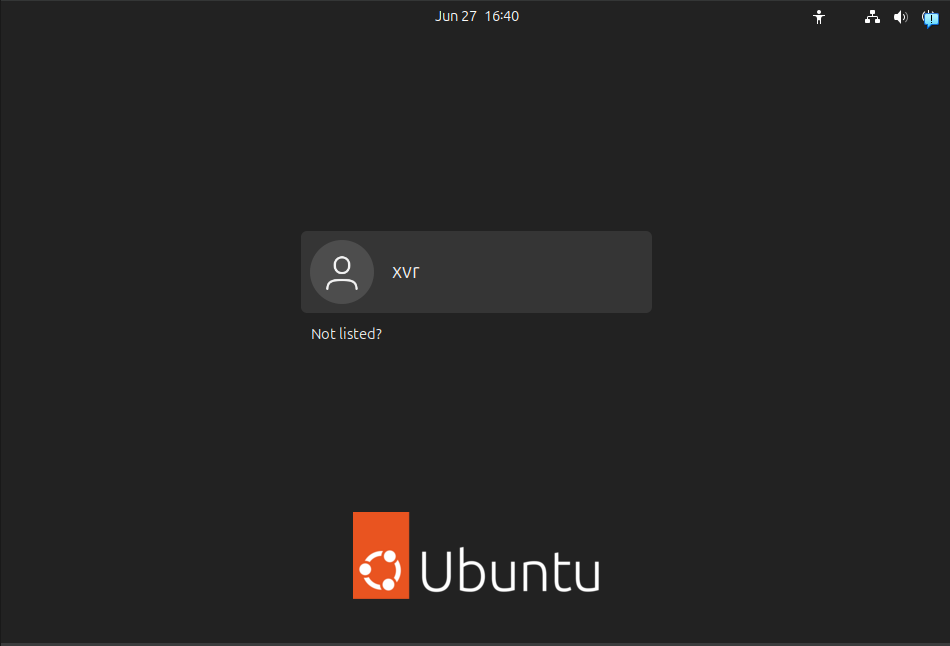
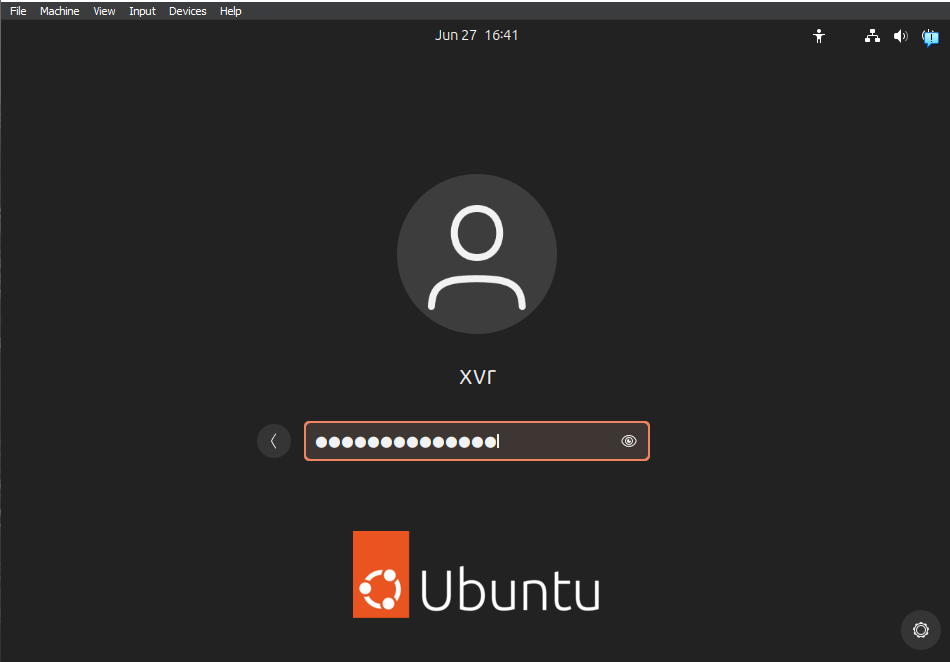
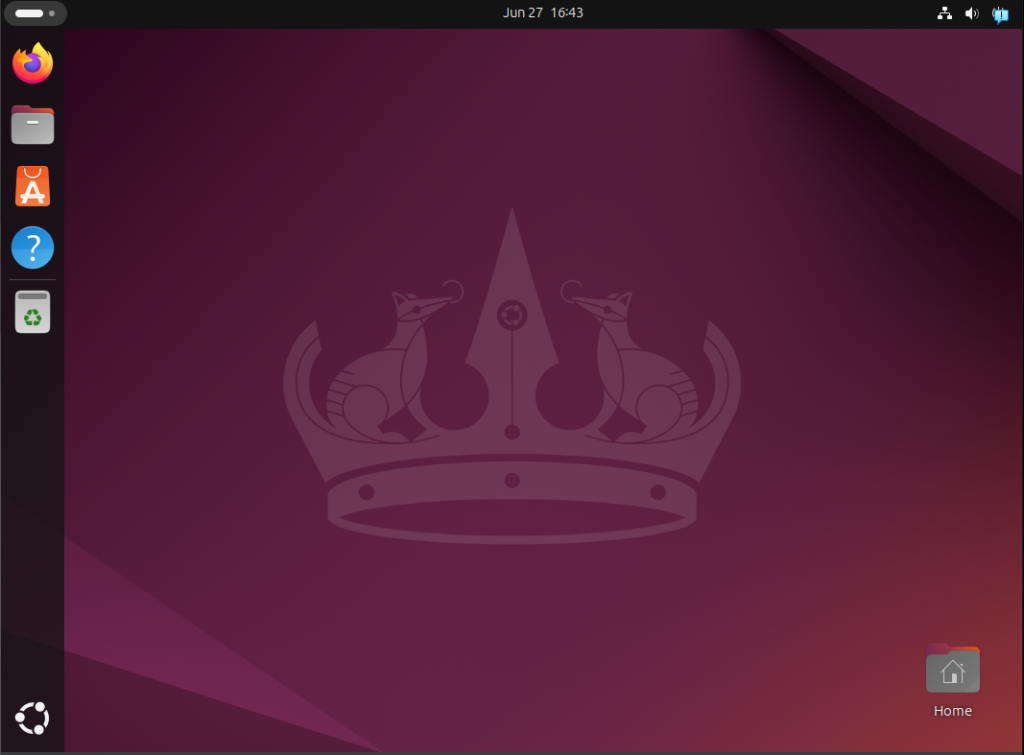
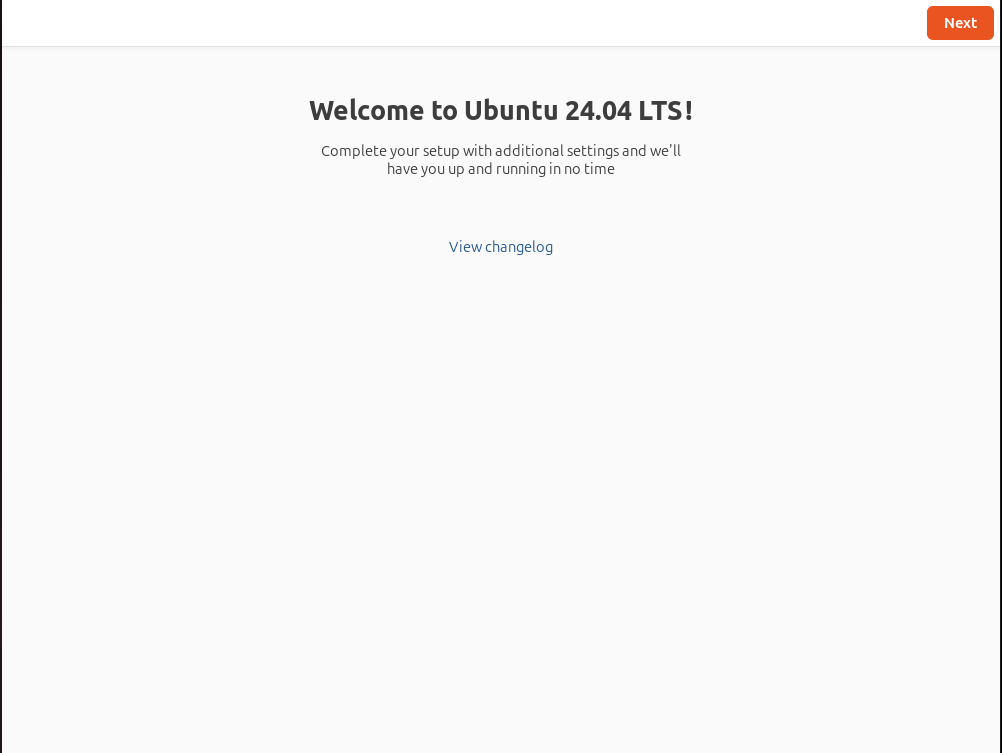
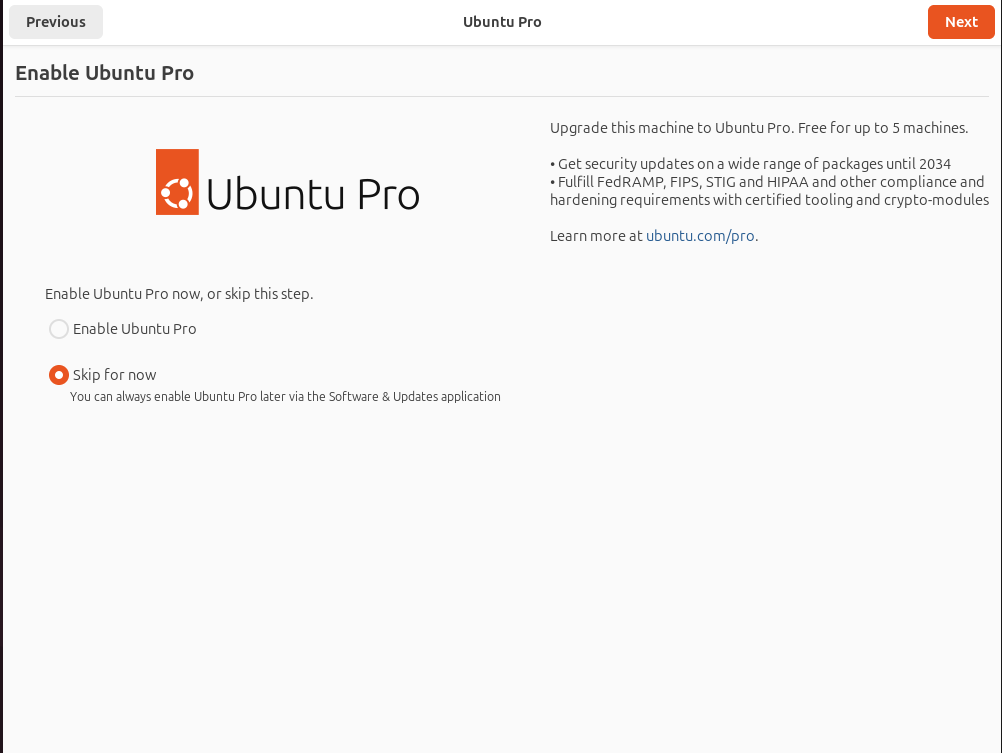
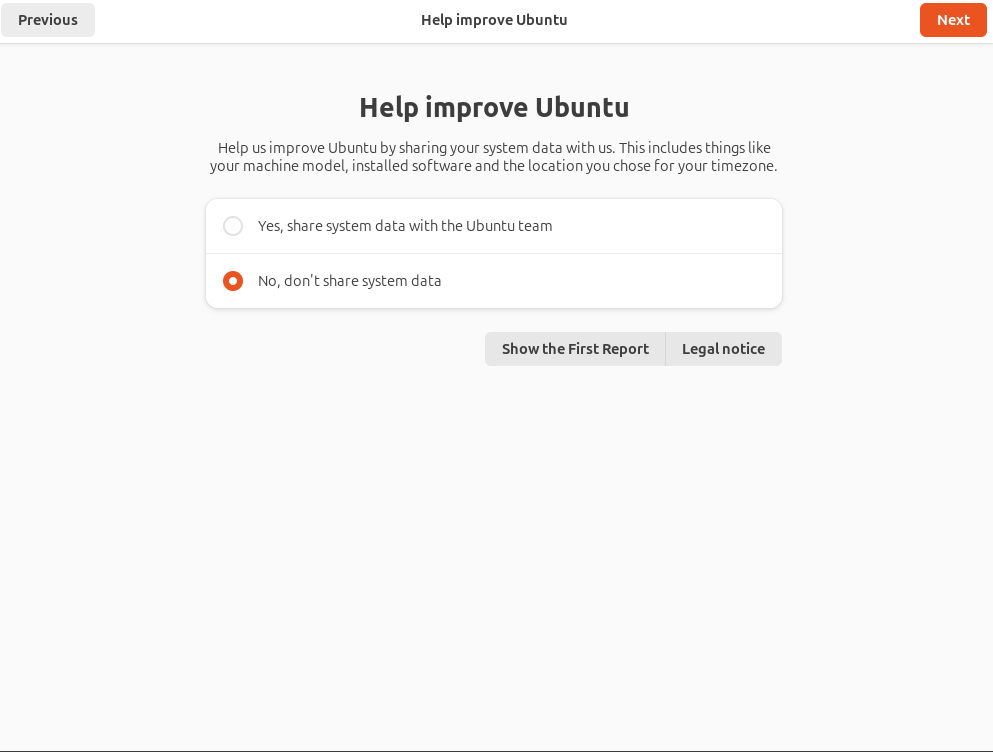
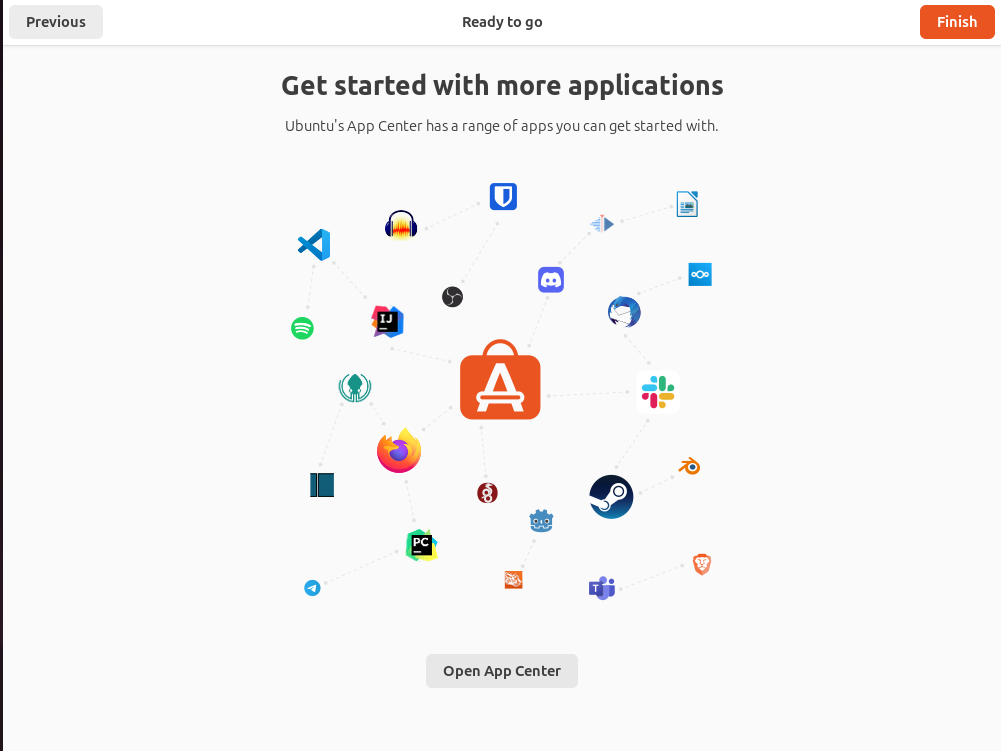
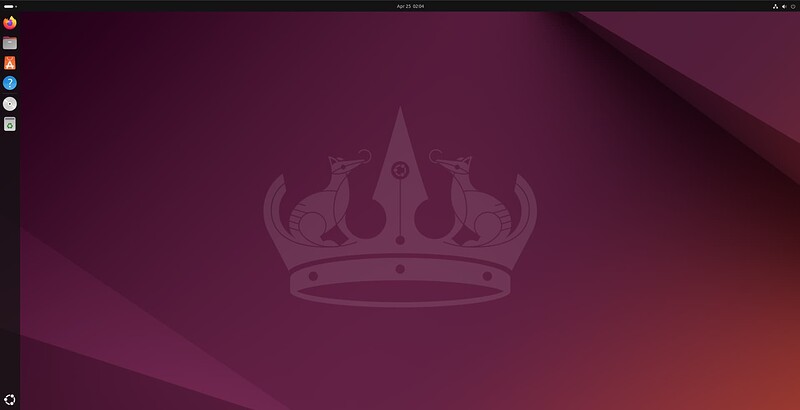
Once the computer restarts we can finally login to our new Ubuntu VM. You will see a loading screen for Ubuntu that says “Please remove the installation medium, then press ENTER:”. To remove the installation media (if it hasn’t already), right-click the tiny disk at the bottom right of your VirtualBox VM and select “Remove disk from virtual hard drive” and then click the enter key on your keyboard. Next you will be prompted to enter the passphrase to unlock your disk (from the encryption configuration). Now we should be able to select the user we created earlier. Click the username and then enter your password. Now we can access our Ubuntu desktop! The desktop will load first but will shortly be followed by a welcome dialogue to complete the setup with a few additional settings. Click next on the top right of the dialogue to continue through the setup. You will first be asked to enable Ubuntu Pro. I skipped this for now but may go back to enable it later because its free for up to 5 machines. Next you will be asked to share system data to help improve Ubuntu. I opted out of this and didn’t want to share my data but feel free to share if you would like as I’m sure it is helpful for an open source OS. Finally you will be asked if you would like to install more applications in the app center. I skipped this for now and selected finish. That should finish it up and you can finally get the chance to explore a Linux machine! I installed guest additions for this machine to optimize my VM experience, I will cover this in another post. It was a fun experience and you have to use some basic Linux skills for the installation. The last thing I will show you in this post is how to update your Linux machine before you start diving in.
Update Linux
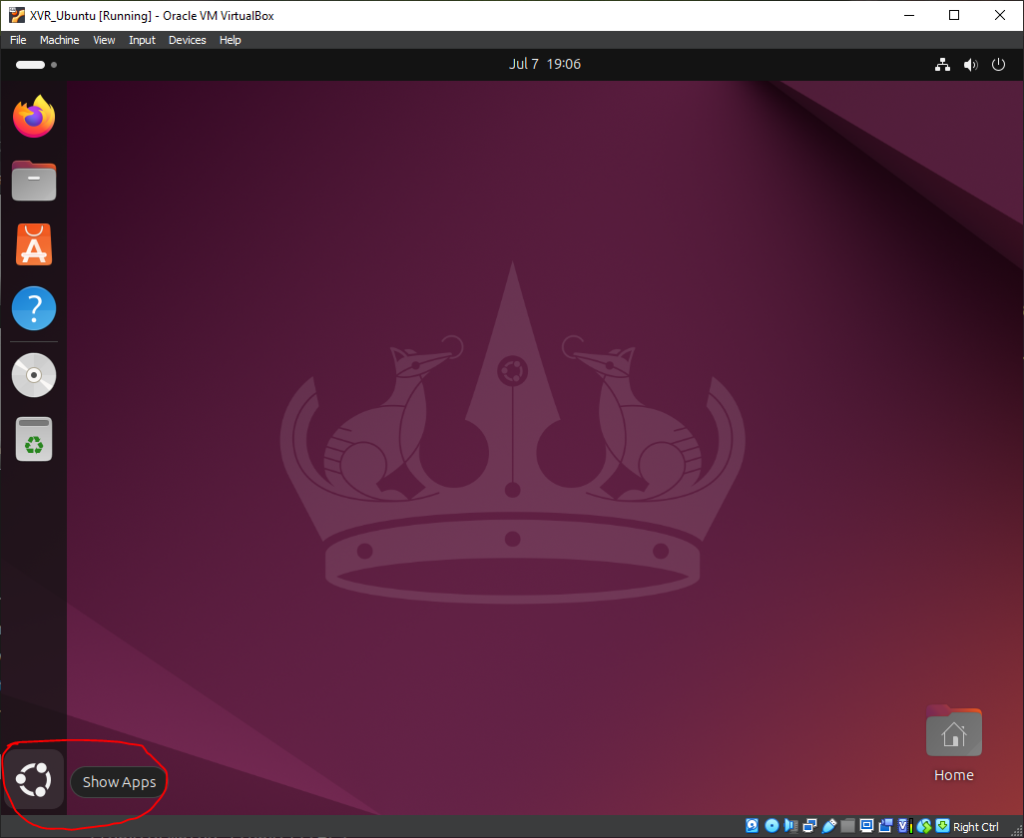
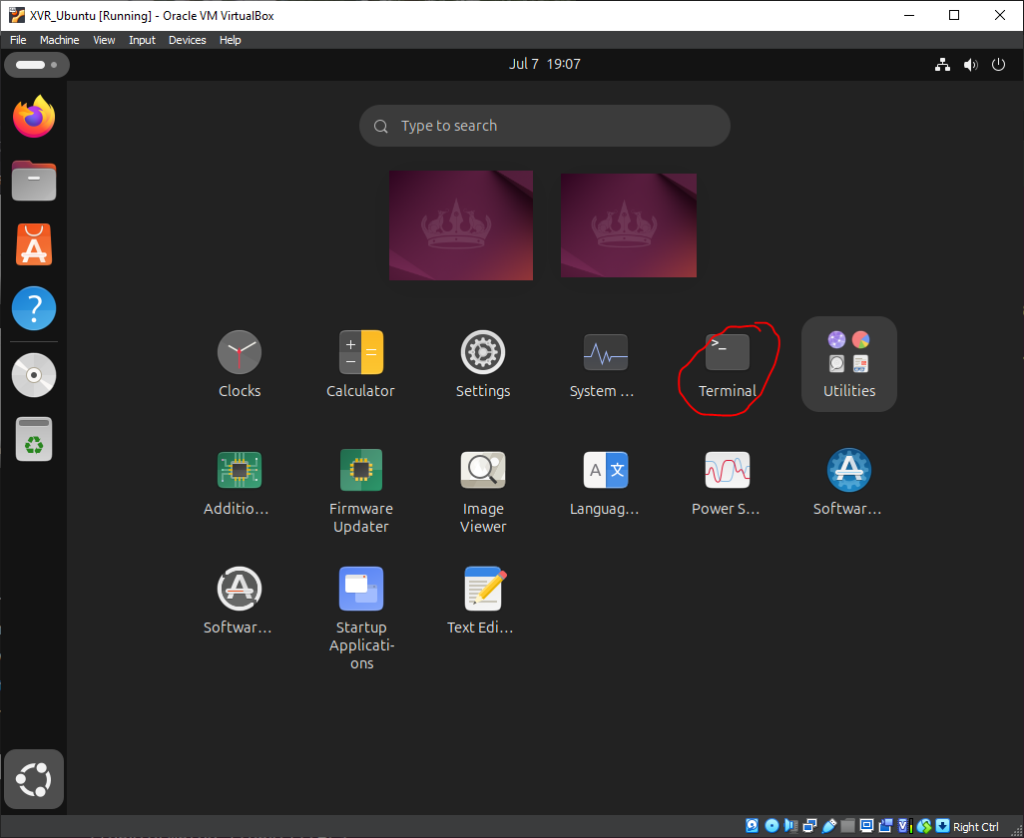
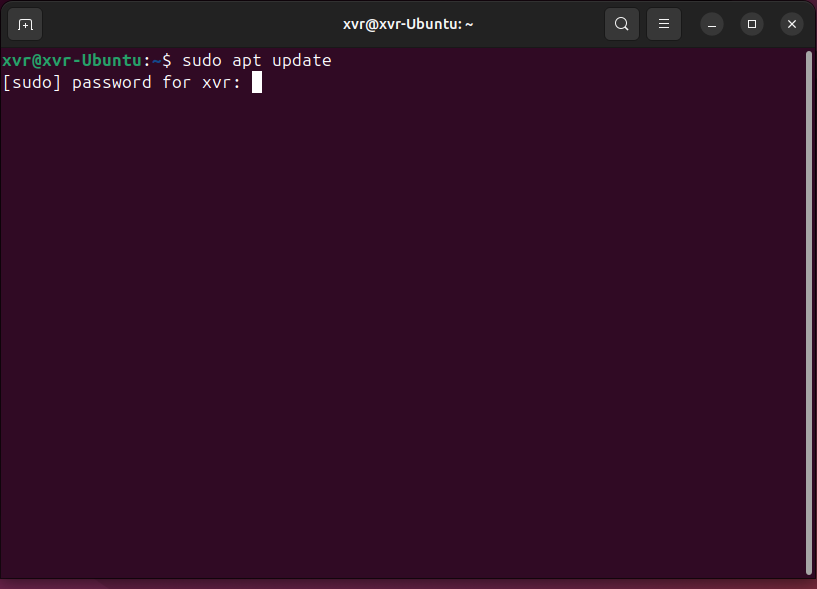
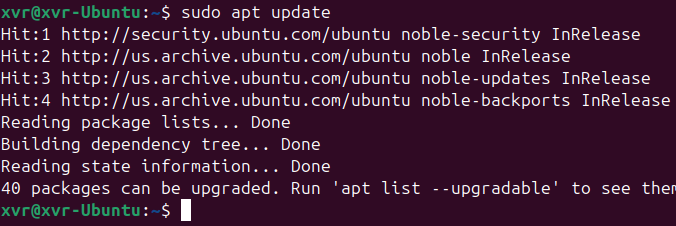
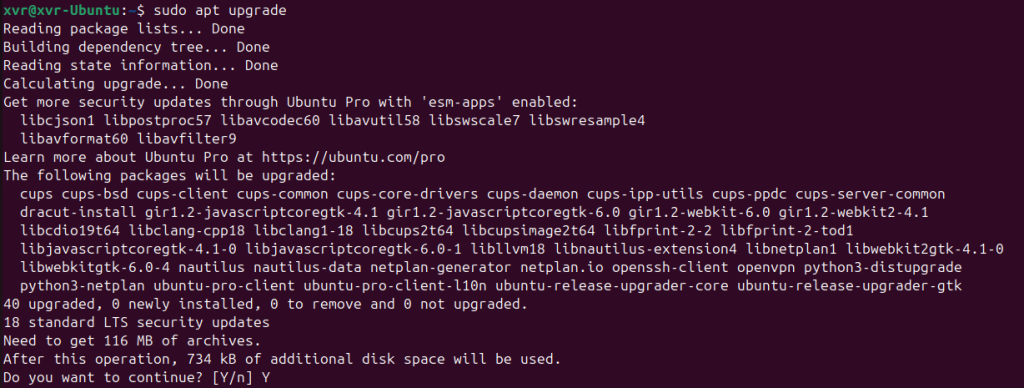
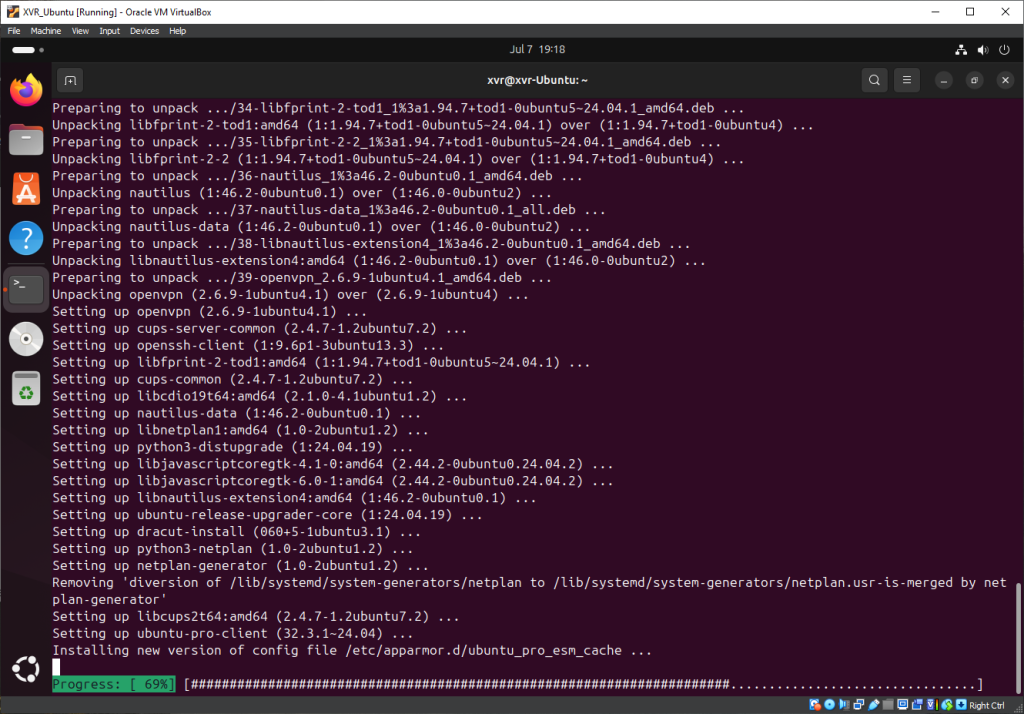
In order to update Ubuntu, we are going to have to access the Terminal, an essential tool to Linux to interact with the computer. You can use the GUI to update Linux, but it is important to practice using the Terminal. And let’s be honest, most of us are probably interested in using Linux because the command interface! I will dive deeper into this in a later post but just know that using the Linux Terminal is essential when learning Linux and will be the primary mode of using the OS. To access the Terminal you can press CTRL-ALT-T on your keyboard (I would opt for this shortcut to get used to using the keyboard as the primary way of interacting with your computer) or select the icon at the bottom-left corner to show apps and select terminal. Once in the Terminal, you can run your first Linux command. Type in “sudo apt update”, click enter, and enter your password and click enter when prompted. I will do a separate post going into more detail about these commands but just know for now that this command is checking to see if there are any updates available for your system. You can reference the pictures below to get an idea of what this process looks like and what you can expect in the Terminal. It may not be identical but should look fairly similar. The next command to run to actually apply the updates will be “sudo apt upgrade”. Click enter and the type “Y” for yes to confirm the upgrade. Next, you should see the upgrade happening and once the update is finished, you can exit the Terminal and get familiar with the Ubuntu desktop.
Leave a Reply