Skills: Windows Server Installation, VirtualBox, VMs
This post was written with the assumption that Virtual Box is already installed on your computer. If you haven’t here is the link to the VirtualBox website to download and install it.
Today, I’m going over how I set up a homelab in order to practice Active Directory. It involves using VirtualBox to set up a Windows Server 2016 VM (using a Windows Server evaluation install), installing Active Directory, and setting up two additional VMs running Windows 10 to set up as part of a Domain. Today I am going over installing Windows Server 2016 on a VM in VirtualBox. To learn this, I followed along with this Kevtech playlist.
It is important to note that in order to run this lab, you need to make sure your computer has enough resources to set up the VMs and a 64-bit processor in order to run Server 2016. You want to make sure you a have well beyond these requirements in order to run all of these VMs. Here are the requirements for Windows Server 2016 and Windows 10. It is also worth noting that your computer must support virtualization.
Windows Server 2016:
- CPU: 1.4 GHz 64-bit processor
- RAM: 2 GB
- Disk Space: 32 GB
Windows 10:
- CPU: 1GHz processor
- RAM: 2 GB
- Disk Space: 32 GB
Download Windows Server 2016 evaluation
Once you are sure your computer can support running this lab, the first step is going to be downloading a Windows Server 2016 evaluation from this page on the Microsoft website. You have options to do a 64-bit ISO or to use Microsoft Azure. In this case we want to download the 64-bit ISO file. Start by clicking on “Download the ISO”. You will have to fill out some information to register for a free trial in order to get the ISO.

Create a new machine in VirtualBox
Once the ISO finishes downloading, you can save/move it somewhere that you can remember on your computer. Personally I created a folder that I have everything for this lab in so I can access everything easily if I want to spin the lab up again. After that, open up VirtualBox, and we will go through setting up the new machine.
Once in VirtualBox, click on “New”

Next, we are going to name the server. I’m leaving the ISO image blank for now and am going to wait until we boot the machine the select the ISO. I’m doing this to mock installing it if we were on a physical machine. Set type to “Microsoft Windows” and Version to “Windows 2016 (64-bit)”. This may look just a little bit different depending on your version of VirtualBox.

Now, we need to enter our hardware allotment. Feel free to put more if your system allows. I kept everything to the minimum for the most part with the exception of a little extra disk space. When you get the the Virtual Hard Disk section, select “Create a Virtual Hard Disk Now”. When you finish the hardware allotment select “Finish”. Here is what I set everything to:
- Base memory: 2 GB
- Processors: 1 CPU
- Disk Size: 50 GB
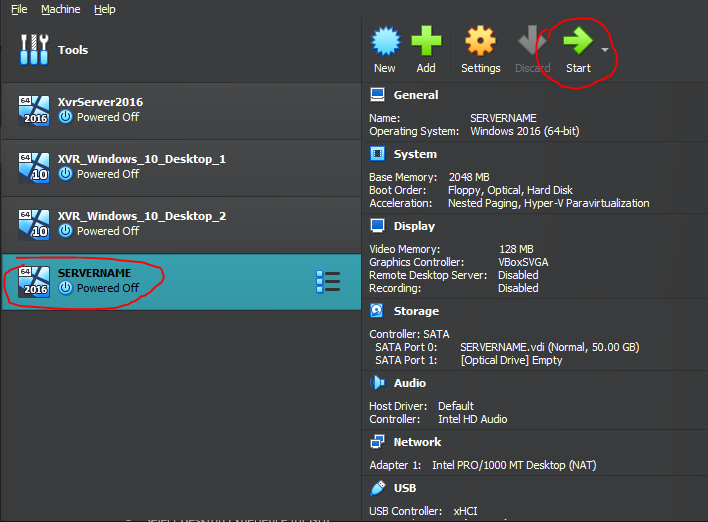
Once your machine is configured, its time to boot it up. In the VirtualBox interface, select the machine you just created and click on “Start” to boot up the machine.
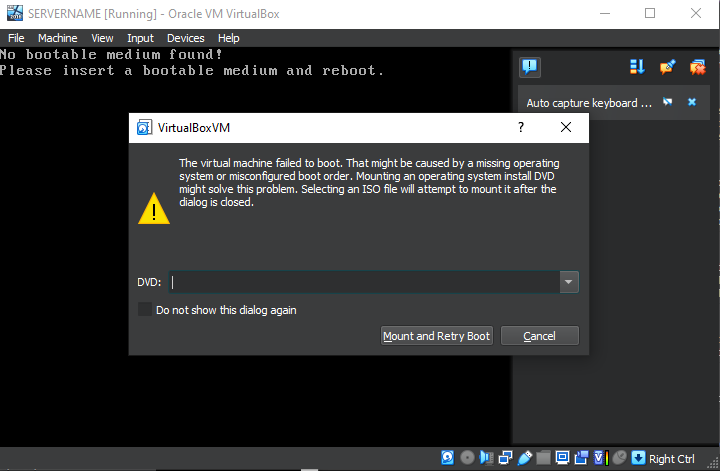
When the machine boots up, you will receive a “Failed to Boot” error from VirtualBox. Here is where we will select the ISO image we downloaded earlier. Once you select the ISO image, click “Mount and Retry Boot”.
Now the machine will boot from the ISO, similar to booting from a DVD or USB on a physical computer. From here, we will follow through with the standard Windows installation process. You’ll select your language, time and keyboard input then click next. We will be doing a clean install here so select “Install Now” rather than “Repair you computer”. Once the installation starts you will be prompted to select the OS you want to install. We want to select the Standard Evaluation/Desktop Experience in order to get the graphical desktop interface. If you select the Standard Evaluation you will get a command line version of the OS.

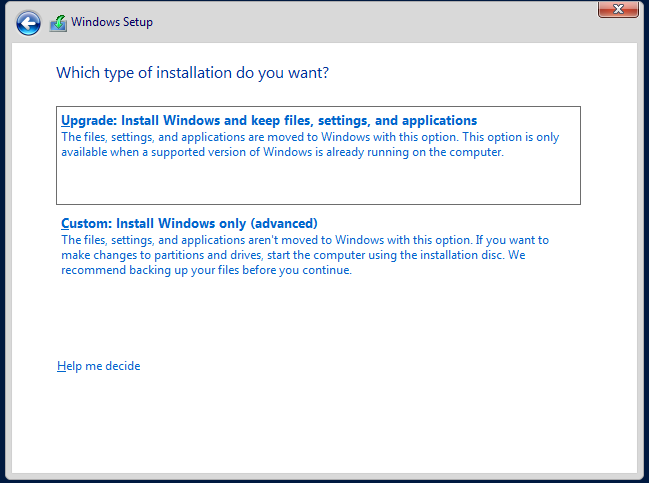
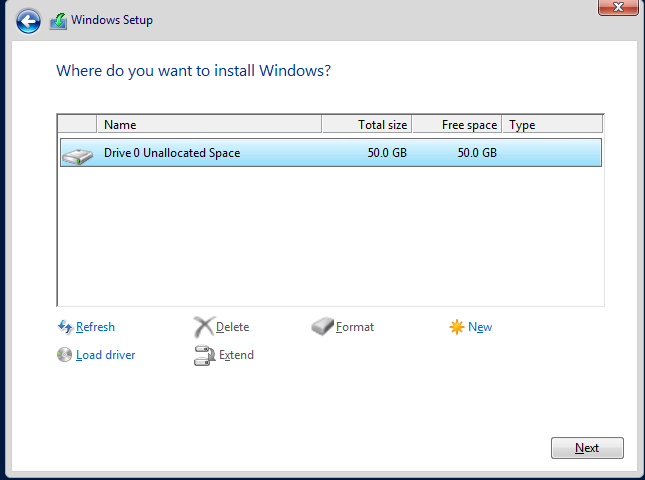
Next, agree to the User Agreement. Once we click next, we will be asked what type of installation we want. Again here, since we are doing a clean install, we want to select Custom. And finally, we need to choose where we want to install Windows. Select the drive that was created earlier when we made the machine. Click next, and the installation will begin.
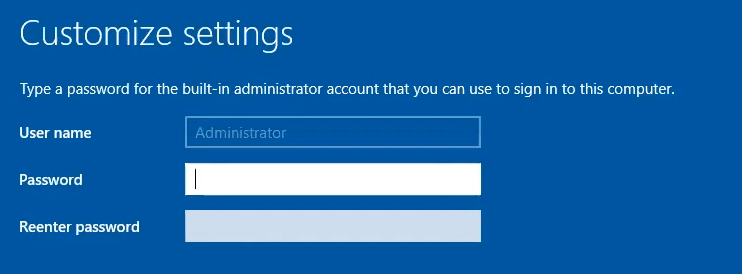
Once the installation is finished, the computer will restart and boot up the new Windows installation. When the computer is started up, we need to set an administrator password. You can set it to what you like but for ease in this lab environment, I set it as “Password1”. After you set a password, click next. On Windows Server 2016, you have to press Ctrl-alt-del in order to log in. In VirtualBox, we can’t to this from our keyboard. So in order to do this, click input at the top of the window, select keyboard, and click “Insert Ctrl-Alt-Del”. Now we can enter our password to log in and start getting familiar with Windows Server 2016!

Leave a Reply